You must be at least 13 years old to use Roblox voice chat.
You must confirm your age if you are at least 13 years old.
Regrettably, Roblox voice chat is not available without verification, ID, or if you are under the age of 13.
Once you’ve confirmed your age, navigate to your privacy settings, reload the page, and turn on voice chat.
This enables you to utilise voice chat in games that support voice chat, such as “Roblox Community Space.”
You must snap a photo of your ID and a picture of yourself as part of the age verification procedure.
As a consequence, you must have your ID with you.
To obtain Roblox voice chat, follow these steps:
1. Open Roblox on your PC.
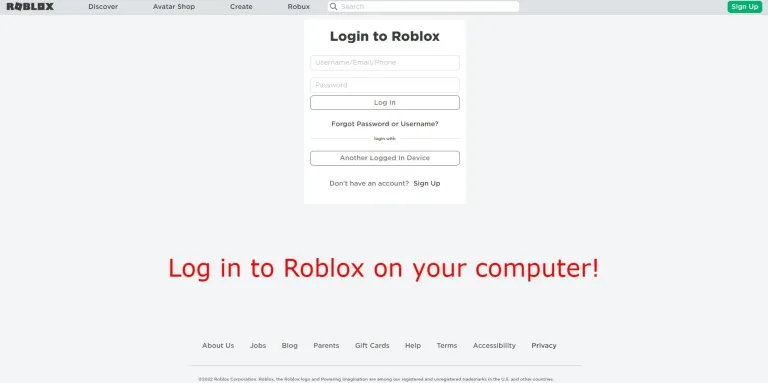
To begin, sign in to Roblox on your computer.
The Roblox mobile app cannot be used for this.
Roblox cannot be accessed through a mobile browser such as Safari or Chrome.
Its because you’ll need your phone afterwards to scan a QR code.
Visit www.roblox.com/login, input your username/email/phone number, and password, and then click “Log In.”
2. Confirm your age Roblox Voice Chat

When you’ve checked in, you should go to your settings.
To do so, go to the top navigation bar and click the gear symbol.
This will bring up a menu with several alternatives.
“Settings,” “Quick Log In,” “Help,” and “Logout” are all included.
To access the settings page, click “Settings.”
You must enter your birthday on the preferences page, under “Personal.”
Bare in mind that you must be at least 13 years old to enable voice chat on Roblox.
Alternatively, you will not be able to use the voice chat feature.
After entering your age, click “Verify My Age.”
3. Type in your email address
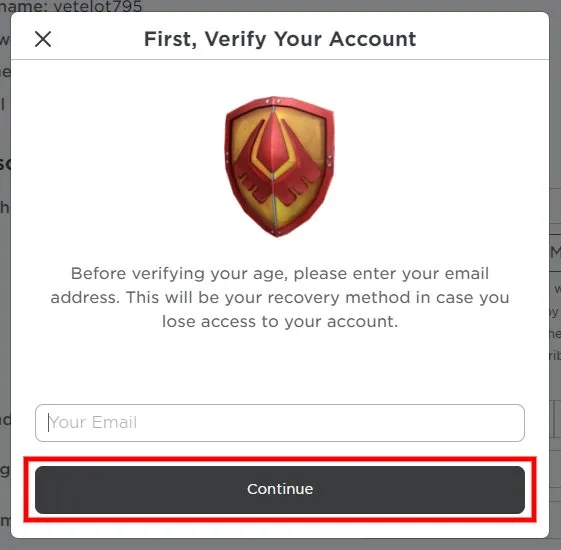
The “First, Verify Your Account” pop-up will appear when you click “Verify My Age.”
You’ll have to link your email if you haven’t already.
If you cut off access to your Roblox account, this will be your recovery method.
Fill up the “Your Email” section with your email address and click “Continue.”
Inspect your inbox for the verification link.
4. Scan the QR code with your smartphone.

After clicking “Continue,” you’ll see the “Identity Verification” pop-up.
You must now scan the QR code with your smartphone.
But first, you need to get a few things ready.
A proper ID and a phone to scan the QR code are required.
One can use a driver’s licence, passport, ID card, or a residency permit.
The confirmation step will be used solely to protect your account and enable Roblox features.
5. Begin the session with Roblox Voice Chat
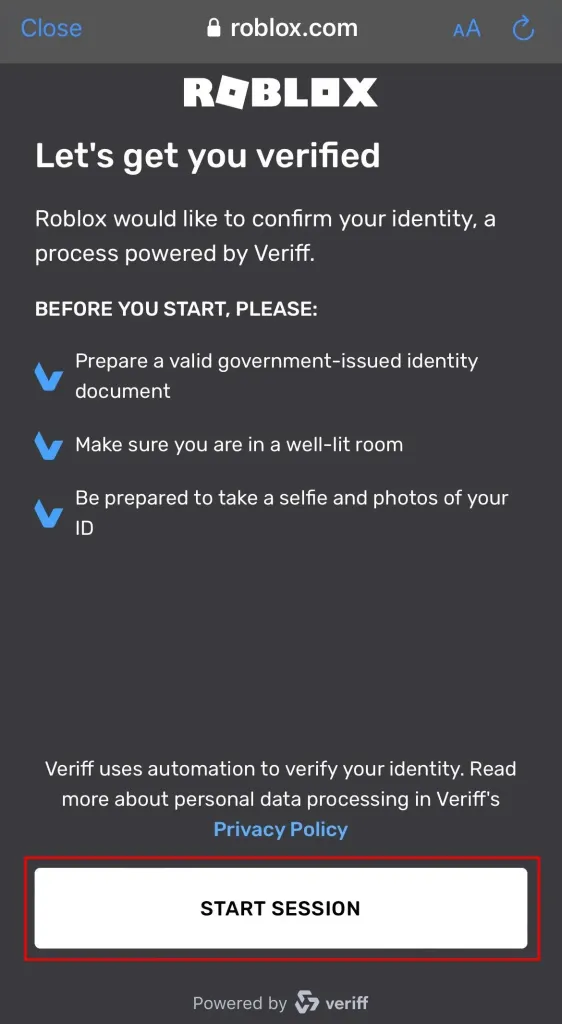
After scanning the QR code with your phone, you’ll be sent to the “Let’s get you verified” page.
A third-party service provider, powers the verification process.
When you begin, you must have a valid government-issued identification document.
Ensure you’re in a well-lit area.
Finally, snap a selfie and images of your ID.
To begin the identity verification process, click “Start Session.”
6. Photograph your ID
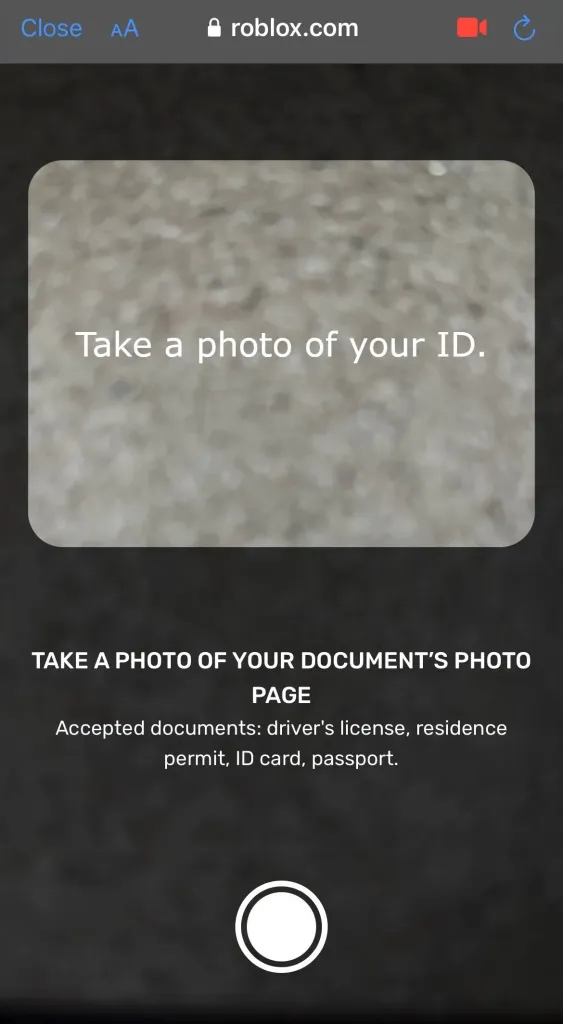
Your cameras will be enabled immediately when you click “Start Session.”
You must now photograph both the front and back of your ID.
One can also use a driver’s licence, a residency permit, or a passport.
After you’ve photographed the front of your ID, you must photograph the reverse.
7. Snap a selfie for Roblox Voice Chat
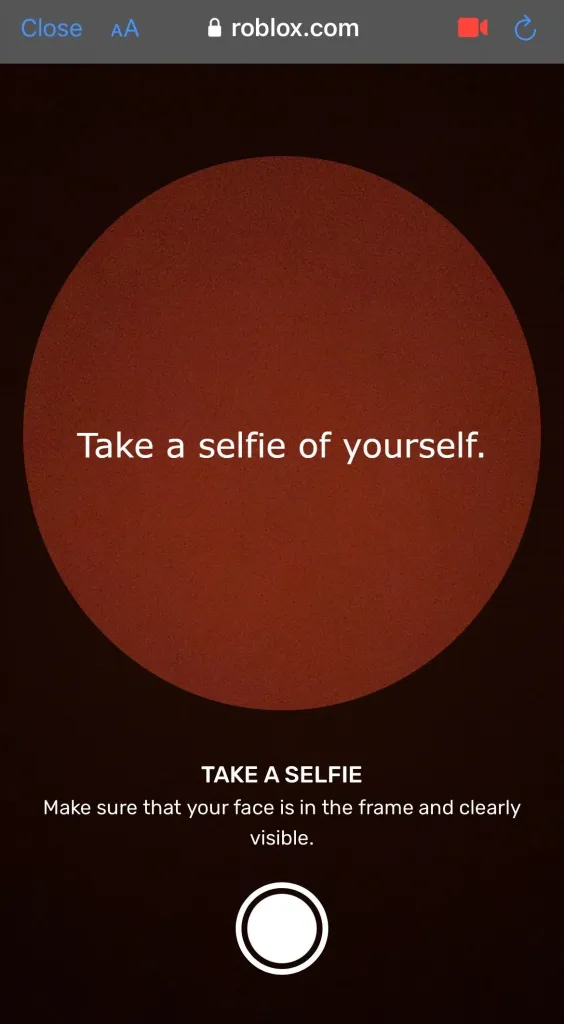
After you’ve snapped the front and back of your ID, you’ll need to snap a selfie.
To begin, make sure you’re in a well-lit area.
Second, ensure that your face is fully evident in the frame.
If it is, take a selfie to confirm your identity.
8. Return to your computer.
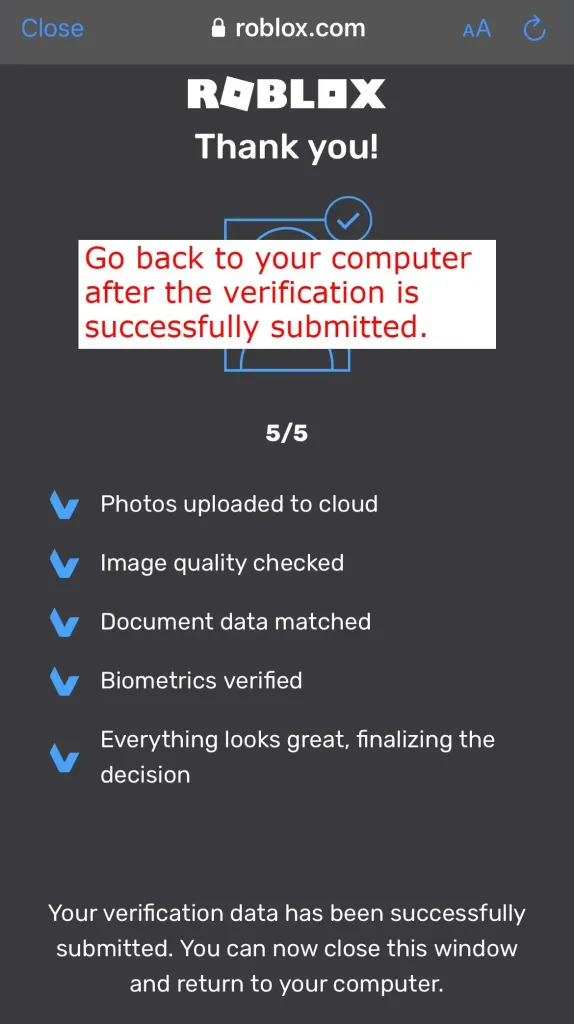
You’ll arrive at the “Thank you!” page after taking a selfie of yourself.
You must now wait for veriff, a third-party provider, to validate your information.
This covers your uploaded photographs to the cloud as well as the image quality.
It also verifies that your document data matches and that your biometrics are valid.
The final stage is for the service to make a final decision.
If everything appears to be in order, you will see the following sentence: “Your verification data has been successfully submitted.”
“You can now minimize this window and proceed to your computer,” it says.
9. Close the pop-up dialog.
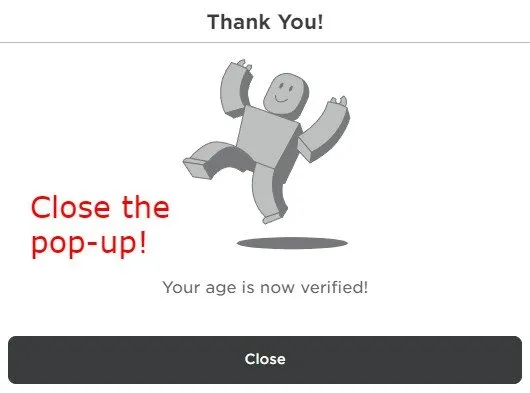
You must return to your browser after completing the verification procedure on your phone.
You’ll now see a “Thank You!” pop-up.
Then the pop-up will inform you that your age has been validated.
To close the pop-up, click “Close.”
10. Reload the page to activate voice chat.
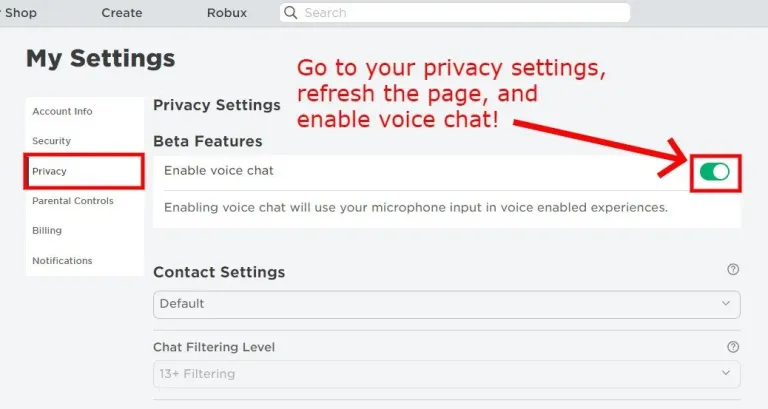
Then you’ve dismissed the pop-up, you may now use Roblox’s voice chat function.
To begin, navigate to your Roblox privacy settings.
When on the settings screen, select “Privacy” from the left sidebar.
Then, reload the page to sync the age verification with your account.
When you refresh the website, the “Beta Features” section will appear.
The “Enable voice chat” function will be available in the “Beta Features” section.
Also to activate voice chat on Roblox, turn on the “Enable voice chat” function!
Voice chat is now available in games that support it.
Conclusion
Roblox voice chat, commonly known as “Spatial Voice Beta,” is a latest change.
It enables users to converse in Roblox in the same way they would in real life.
Nowadays, developers may incorporate voice chat into their experiences.
You will not be allowed to use voice chat if you are under the age of 13.
In such situation, you can use someone else’s Roblox account rather of your own.
Similarly, Keep in mind that not all Roblox games support voice chat.
Voice chat will be unavailable in some games.