
Google Docs is a browser-based word processor from Google.
Documents can be created, edited, and shared online, and they can be accessed from any computer with an internet connection. There’s also an Android and iOS app available.
The word processor component of Google’s online office suite is Google Docs. It’s a free Microsoft Word replacement.
It also contains a lot more features.
Most presentation software and word processor applications are compatible with Google Docs.
Moreover, a Web page or a print-ready manuscript can be used to publish your work. Users have complete control over who sees their work.
You can even write reports, create collaborative project proposals, maintain track of meeting notes, and more.
Also, Google Docs is ideal for publishing within a company, keeping blogs, and writing material for public consumption.
Pros of Google Docs:
- It is user-friendly.
- Other Google services, such as voice typing and translation, are in sync.
- Version history and sharing.
- Various add-ons are available.
Cons of Google Docs:
- Graphic customization is simple, especially when compared to pages.
- Many features are only available online, which may make formatting difficult for users who are not connected to the internet.
How to use Google Docs?
- Google Docs can be used in the same way as Word documents can.
- Additionally, users can make new papers, use Google Docs templates, connect with their team, and share documents.
- Go to Google Docs and sign in with your Google account to create a new Google Doc.
- You can start a new document from blank or choose a template once you’re on the Google Docs home page.
- Other Side You can also perform the same thing from within an existing Google Doc by going to File – New – Document or File – New – From template.
- Probably you can also edit several characteristics of the document, including the page orientation, via the File menu.
How to insert a Text Box in Google Docs?
Firstly, adding a textbox to your page is one approach to increase its functionality.
Secondly, a textbox can assist you in drawing attention to any topics you want to emphasize.
Thirdly, text boxes can be used to highlight subjects that you want to pay special attention to and make sure you don’t miss them.
So, there are two main methods for inserting a text box. Both tools enable you to insert text that is somewhat separated from the rest of the document.
Both tools produce a text box that you may copy/paste or select and move around within or between documents using either method.
#1 Using the Drawing Tool
Open the Google Docs document and sign in to your account.
Then go to Google Docs and double-click on ‘Blank’ to start a new document.
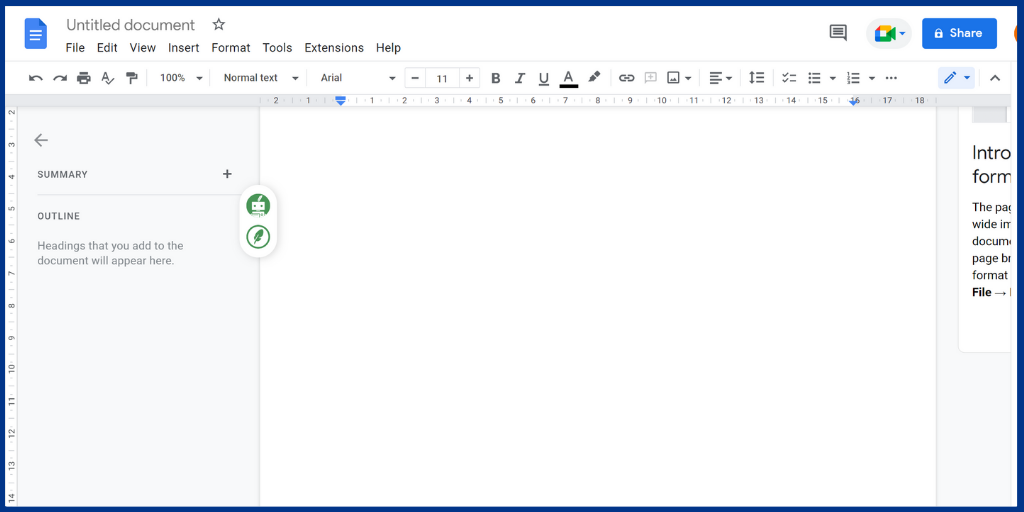
Click ‘Insert’ after you’ve opened a Google Doc. A drop-down option will appear, and you need to select the ‘Drawing’ option.
And from there, click New.
The new drawing dialogue box appears on the screen.
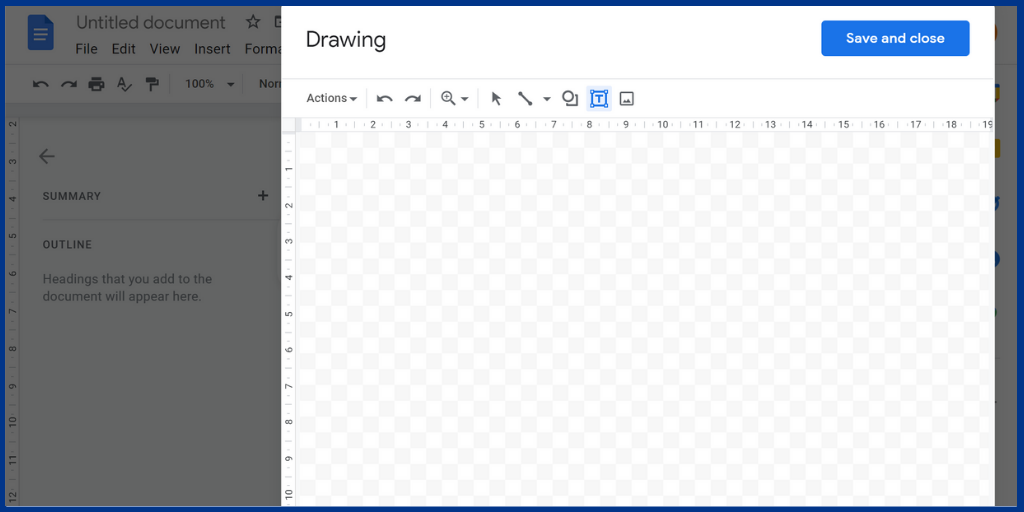
Select the ‘Text box’ icon from the toolbar. It’s the square with the letter ‘T’ centered within it.
You’ll notice that your cursor has changed after you’ve tapped that icon. This means you can start drawing your textbox and give it a shape.
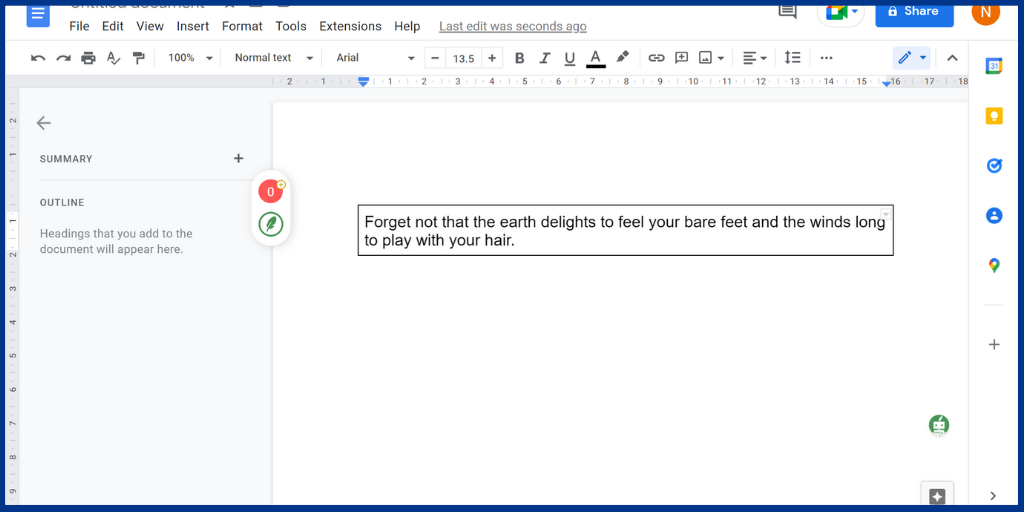
Double-click the box or shape after you’ve drawn it to insert your text inside it.
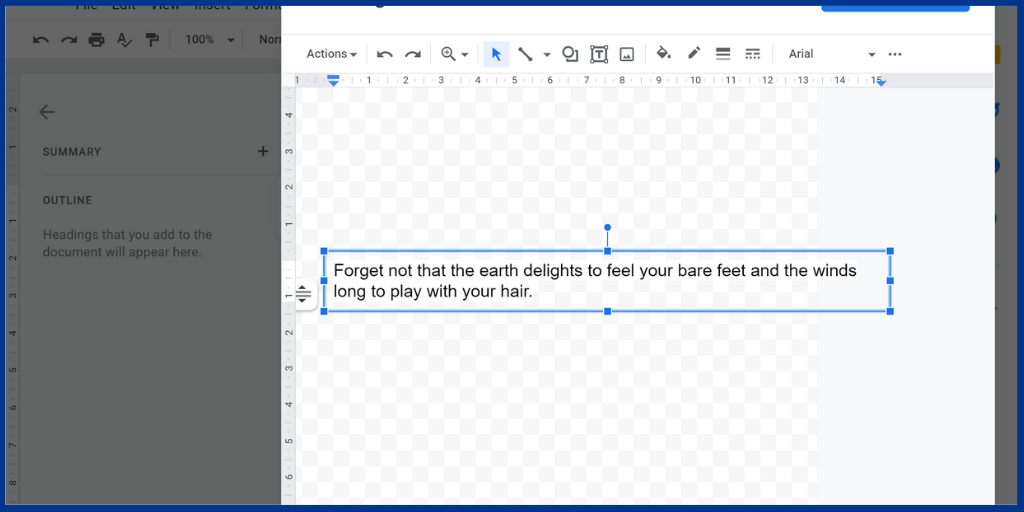
Finally, click on ‘Save and Close’ to save the changes and insert the text box in your document.
Now your text box should now be visible in the document.
#2 Using the Table Tool
You may also create a single-cell table and add text to it using Google Docs’ built-in table creation feature.
Firstly, open your Google Docs.
Secondly, in the menu bar select Insert-Table-Select a single cell. Your document will now have a single-cell table.
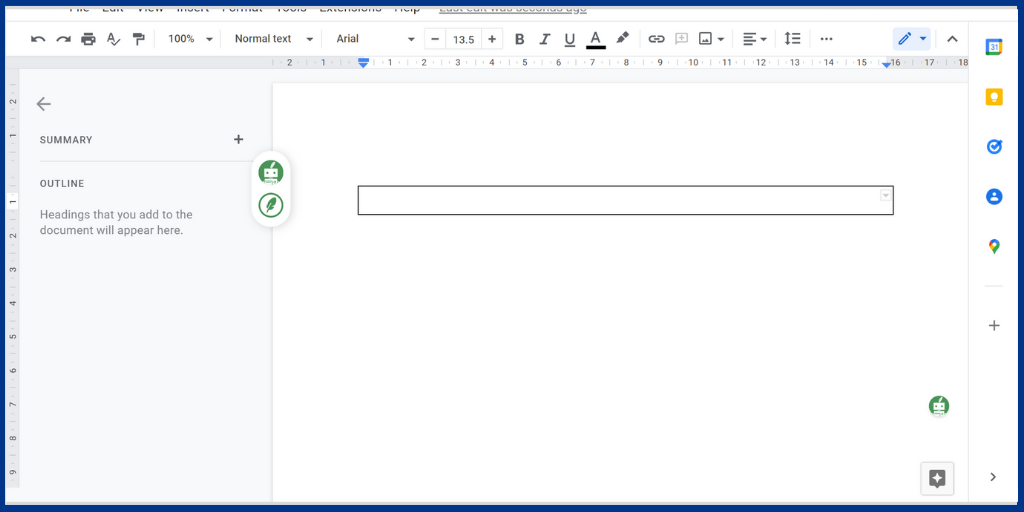
Thirdly, by clicking inside the cell, type your content.
Finally, you can see that your cell may contain a text box that works flawlessly.
Furthermore, you can change the font, font size, style, and color of any text you’ve entered in the table.
Use the normal formatting toolbar to customize its formatting, such as the fill color, border color, and so on.
How To Insert Images Into a Text Box Or Shape In Google Docs?
To add an image to your text box or shape, follow these steps:
To open the Drawing tool, click on the text box or shape, then click Edit.
If in case if you don’t see the Edit option just click on the Insert image symbol.
From the menu, select the Image icon.
You can add an image from your PC, a URL, your albums, Google Drive, or a Google search.
Paste the image that you’ve selected from your albums.
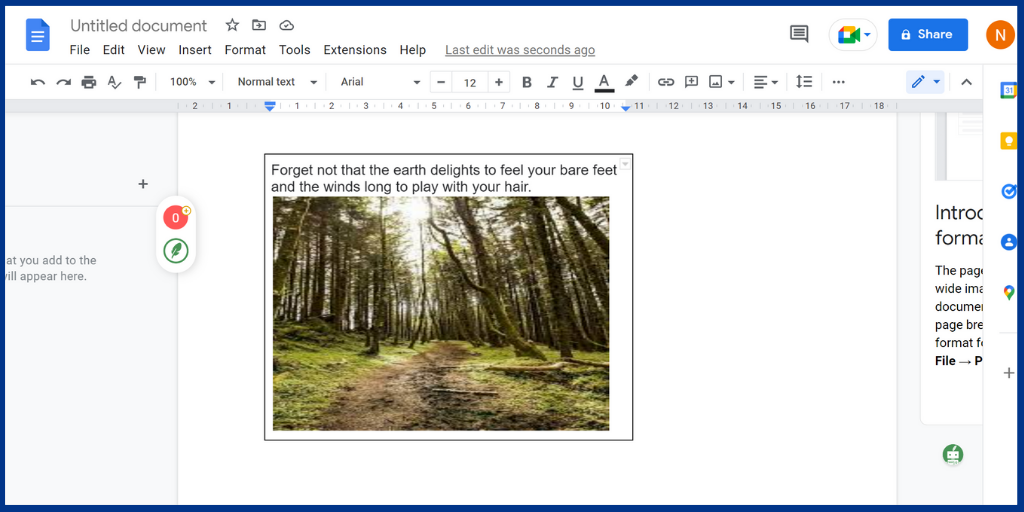
And then, enter the text box into your image, and press Save and Close.
Click on the image and right-click on them. The tab shows you six different icons, so you need to click on the three dots that will be present on the last.
When you click on those three dots it will show up with three options such as size & rotations, adjustments, and all image options.
Here you need to click All image options and you can wrap the text by placing them in whichever corner you want.

Finally, drag the image and text box to the desired place to layer them.
Conclusion:
The two methods which I’ve explained above are the easiest ways to add text boxes in Google Docs. I hope this article will be useful and you can use it later for your reference.
If you like this blog, share it with your friends. Follow PublishSquare to get more updates on blogs like this.